

10 Best Free Tips to take better Photos
*Para ler este Post em Português, clica aqui.
.
On this Post I will give, in my opinion, the 10 best tips to take better photos without spending any money. These 10 tips will save you a lot of time on your learning curve but you will need a lot of time to improve them.
1. Focus on one area
Photography is a big world and its impossible for only one person to be excellent in all types of photography. Choosing only one or two areas to focus, will get you better and quicker results. I don’t want to say with this that a person that likes to do portraits can’t do landscape photos, you can do it and you will probably be excellent at it. But the time invested on many areas instead of one, will prevent you to be the best possible on any of them. Concentrate only on one area and you’ll also see better results later when you try another type of photography.
2. Don’t take photos in Auto Mode
The automatic mode despite good, it can’t always predict what the photograph wants. To be able to control all the functions from the camera, Aperture, ISO and Shutter Speed is essential to take better photos. You can use the three following camera modes:
– Aperture Mode (A)
You choose the aperture (f/ number) and the camera chooses automatically the shutter speed.
– Shutter Mode (S)
You choose a shutter speed and the camera automatically chooses the aperture.
– Manual Mode (M)
You choose both aperture and shutter speed parameters.
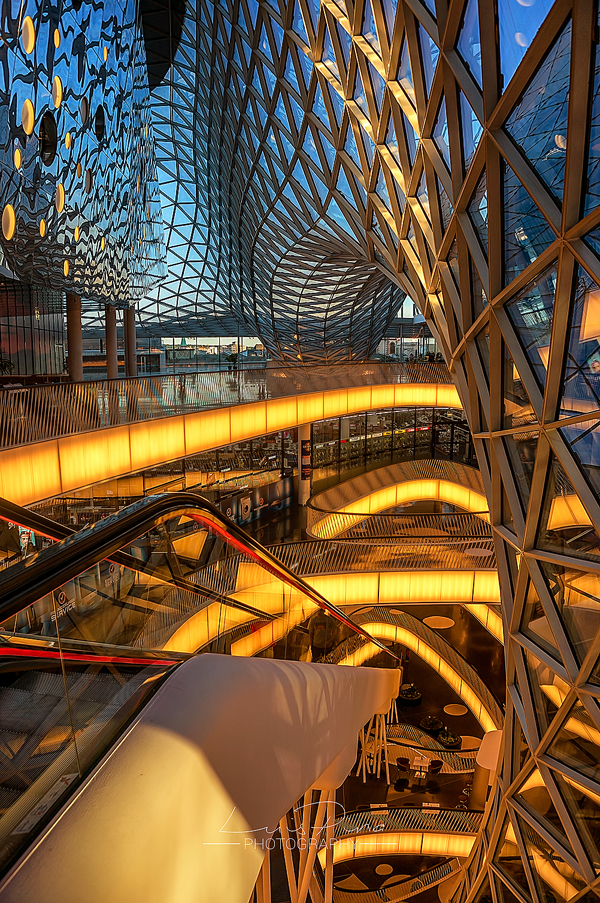
For example, on the next photo I was able to get the the light trails on the bridge, because I used a shutter speed of 10 seconds. The camera in Auto Mode would never know that I wanted such a long exposure.
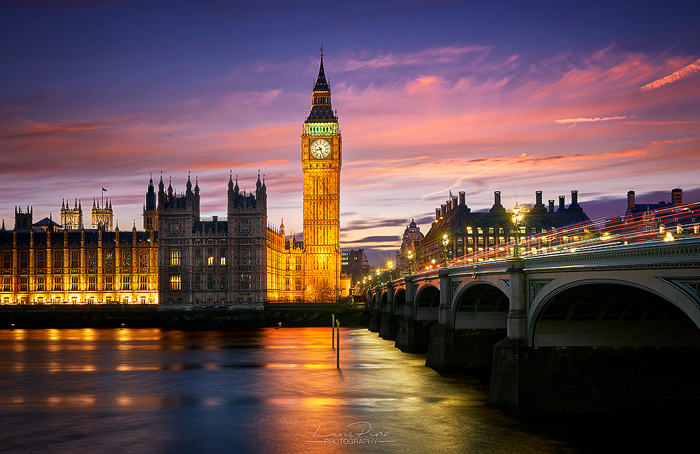
I prefer to shoot on Manual Mode, as I have a greater control on all parameters, but on certain cases the Aperture and Shutter speed Modes are enough and easier to use 🙂
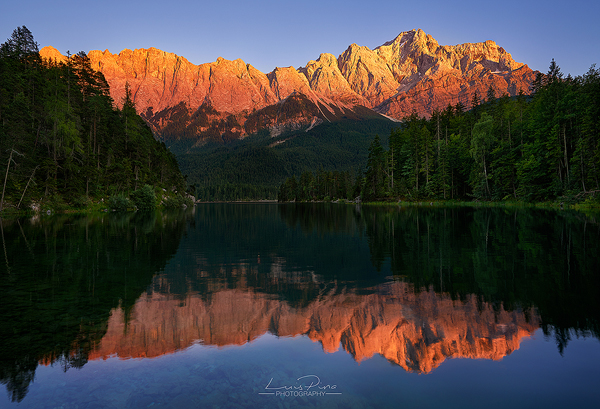
3. Light Quality
One of the things that sets apart a good photo from a bad one, is to know how to use the light, natural or artificial.
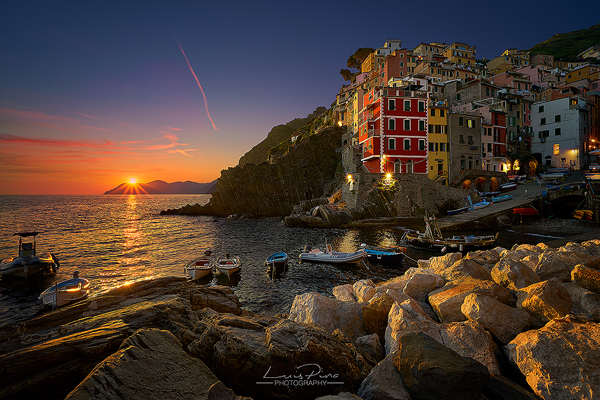
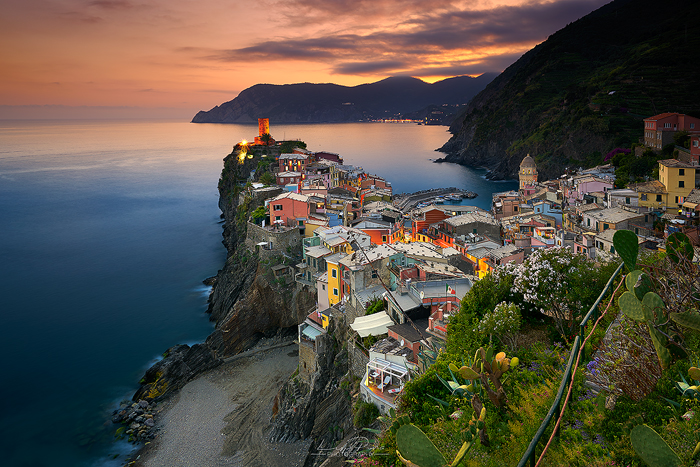
Using natural light, the best hours to take photos is at sunrise and sunset, mainly for Cityscape and Landscape photos. The light is diffuse, soft and with different tonalities. There is the golden hour, which comes first at sunset and last on sunrise, on which the light has different colors, such as yellow, orange, red and pink.
And then there’s the blue hour which comes after the golden hour at sunset and before it at sunrise, on which the sky has a blue and sometimes purple tonalities.
4. Compose the image
On the beginning is very difficult to decide what to frame on the photo. Sometimes we want to frame so many things, that we loose the meaning and subject of the photo. Sometimes the more simple the better. For photographers of Architecture, Landscape and Street photography (as well as many others), it’s really important to leave out the unnecessary. With some practice you will learn how to avoid what’s not important and it will not be later necessary to crop the photos on post-processing.
You must think that you only have a photographic roll with a limited number of photos to take. Due to being so easy to photograph with the digital cameras, many times we forget how to think on the right composition. This exercise will help you think how to think on the composition and what message you want to transmit.
5. Rule of the thirds
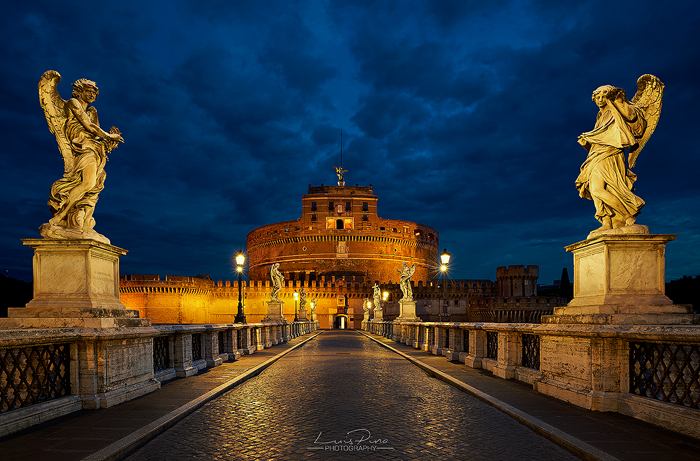
The rule of the thirds helps on the last point and I use it very often, as it almost always gives good results. The principle of it is to frame the points of interest on the photo with the crossing points of the lines.
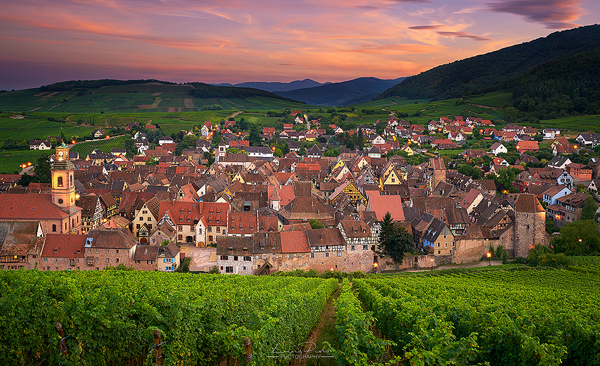
On landscape photos, for example when you have the bottom part with a city , you will compose a better photo by using 2/3 of the photo on the city and another 1/3 on the sky.
It’s not a rule to always follow, as a different composition will sometimes give a better and unexpected result, but it’s nice to keep it always on your mind.
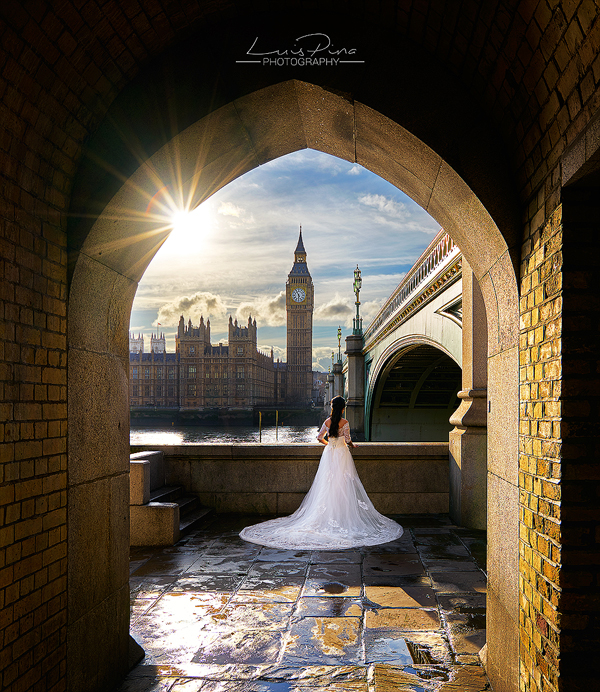
6. Thinking on a Background and Foreground
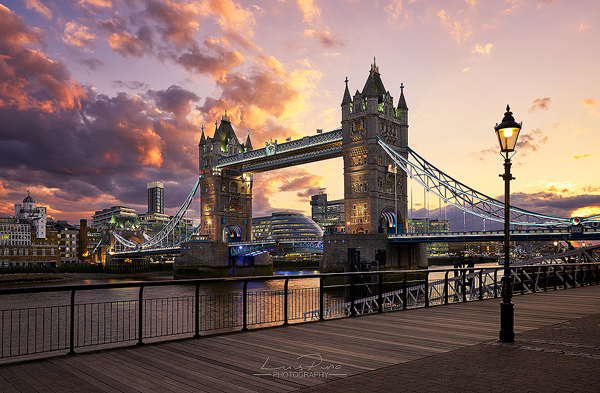
Another important point on the composition of a photo is thinking about a background and if possible, a foreground. If you take a portrait of someone and below is something that distracts the viewer, the photo will not be interesting. Try to find another framing or change your position and search for a better background. In the case of Landscape photography, sometimes we need to wait for an amazing sky to bring the photo to life.
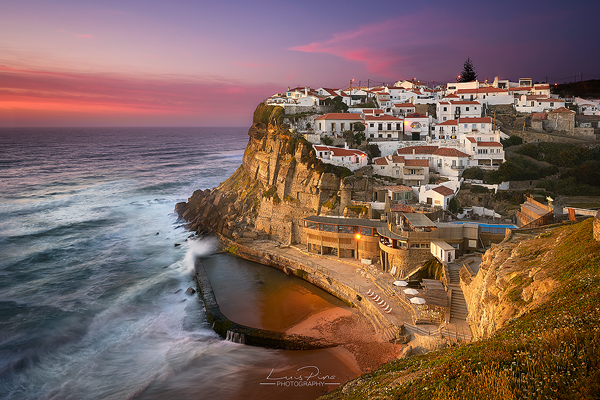
The foreground is not always possible/necessary, as for example in Portraits. On Landscape photography, it gives another dimension to the photo, though sometimes it’s not possible to find one.
7. Waiting for the right moment
It’s really important to be patient in photography, as you have to wait for the right moment to take the photo. Probably the first photo that you take on a place will not be excellent. Sometimes we have to change from place to place to search for the correct composition, wait that the clouds stop blocking the sun, wait for the ideal light or wait that a subject is on the right position.
Sometimes I wait some hours to take the best photo and if I don’t like what I see, when possible, I come back to the same place again to take a better shot.
8. Take your photos always in RAW
I always recommend to do at least some editing on your photos (correct distortion if there’s any, color aberration, etc..), only then you can find all the hidden information on the RAW file. If you export the JPEG straight out of the camera, the JPEG will come corrected by the camera’s algorithm, but not necessarily good. With the RAW file you will have to spend more time correcting the photo but the results will be much better. It’s not necessary to invest money on software (Lightroom, Photoshop or Capture One), as there are good free alternatives, like GIMP.
9. Practice, Study, Practice
You can read and see videos on the Youtube, but if you don’t apply what you learned, you will not get better. If your photos are not what you are expecting, study and then apply it.
There’s a popular phrase from Henri Cartier-Bresson: “Your first 10000 photographs are your worst.”

10. Be Humble
Never stop being humble, as you will always have something to learn. Inspire on the work of others and always critize your own work. We always find something that we need to correct or that we can do better.
This are my basic tips to achieve better results with your photography, without spending any money. Even if you are on a more advanced technical level, these are tips that you can’t forget and that you need to apply.
Hope you guys liked this Post. Write a comment, on what you agree and disagree or if you have any other tips!
If you want to see more of my work, you can subscribe my Newsletter or follow me on Facebook and Instagram.
Happy shooting!
Luis Pina